
I thought I would share some super simple activities that we have used for combined colour and fine motor learning . Many of our activities incorporate a fine motor or patterning aspect. In the beginning we focused on individual colours or elements,
but added many extensions as we moved forward.


This was a little prep she did for making a craft necklace. I bought a package of small foam shapes from Walmart. Ava sorted these by colour. If I don't enough coloured bowls/set to suit what ever it is we are sorting, I just use white bowls. I place one of each colour to get her started, and she sorts from there.


This was an easy activity to incorporate an extra fine motor step, because the shapes had the small plugs (great to keep for later crafts) left in them from hole punching.
I gave her a skewer that I had cut the sharp tip off and shortened. I would not leave a skewer on her shelves - this was just great added bonus "prep" for the colour sorting and stringing activity. Stringing of her necklace:)


Coloured craft sticks and mini pins was a fun one that we put together from the dollar store.
We also sort craft sticks with our Spindle Boxes. I placed paper colour swatches in the trays, and she places them in the box according to number and colour. She enjoys this, and it really helps with added concentration and interest. I have a Spindle Box post coming up showing this extension work. We created our own Spindle Boxes here with materials we mostly found at the dollar store.
I bought these large sorter buttons from a local retailer, but they have since gone our of business:(
The size and shape of the buttons are so great. We have also sorted smaller coloured buttons, with our large plastic tweezers. We have used these for shape sorting as well.

These are recycled apple sauce containers with a foam circle glued to the bottom, to denote the colours for sorting. Ava still pulls this one off the shelf because she loves the buttons!!

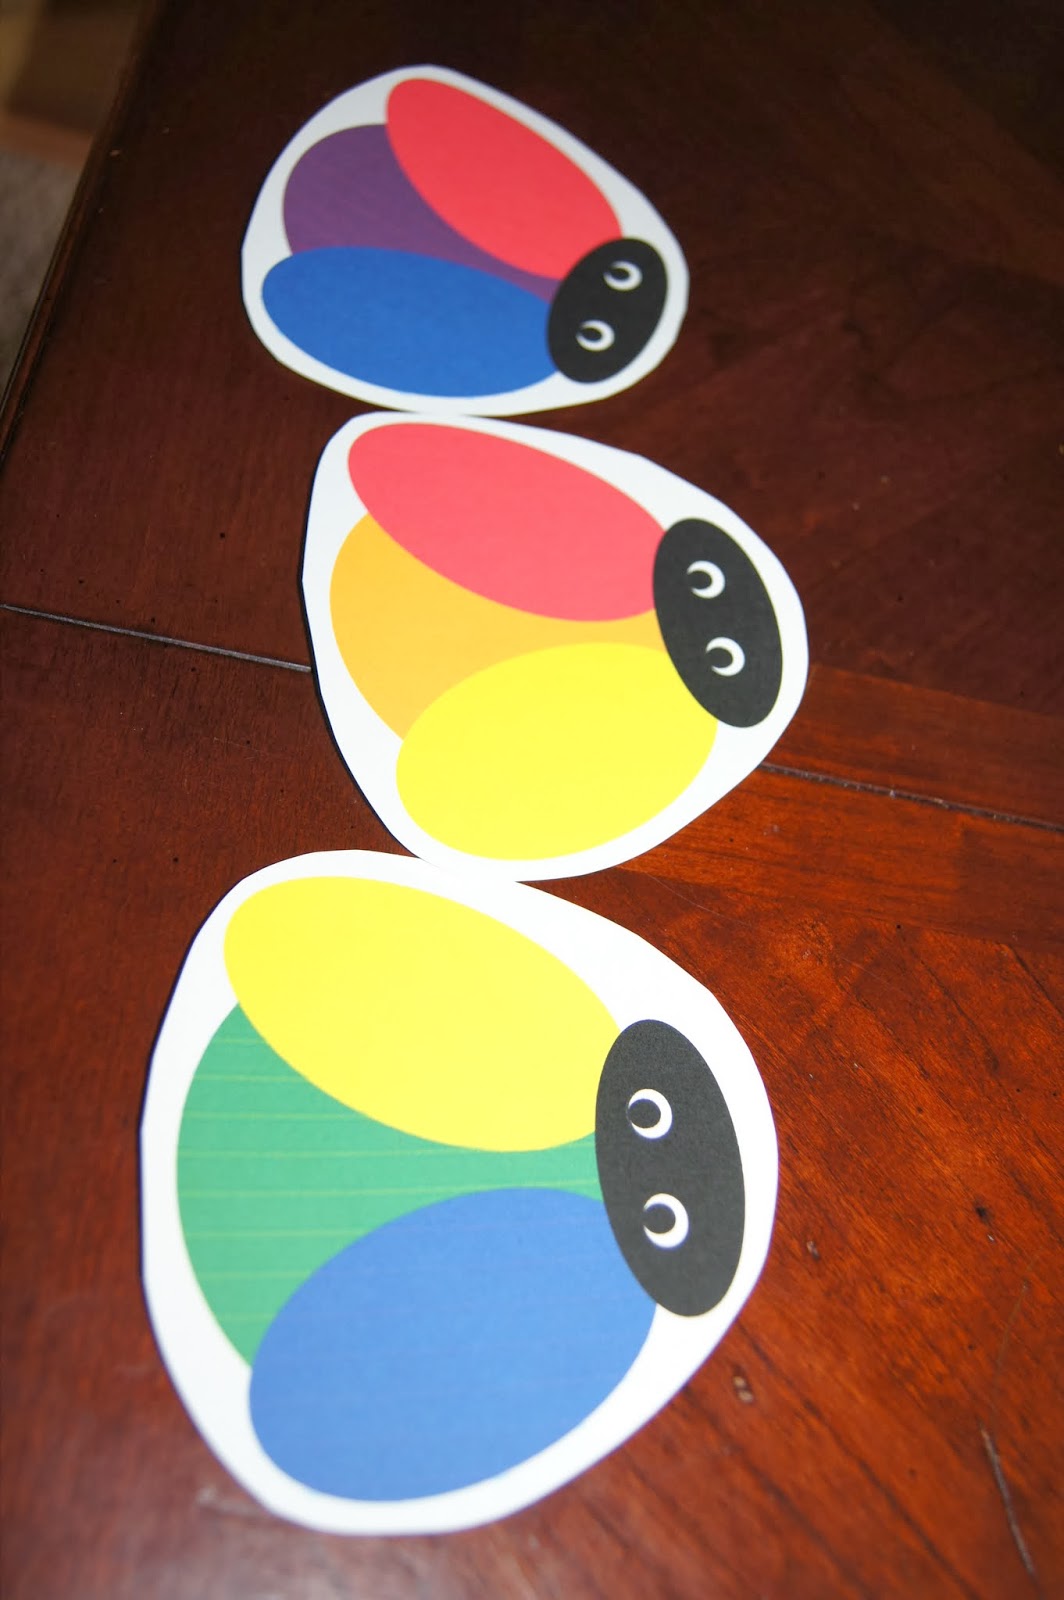
We used art and craft time to reinforce colour recognition. This was part of our Art Education- Colour Theory activities here and here. In this project we were working with colour mixing and chatting repetitiously about colours for mixing in a hands on way. These colour bugs are a free download - check out our free printables.

This is a fun one that we made with craft plywood and dowels - you could also use disks. There are tons of variations on the web! This is really an exercise in gradation of colour, and practice training the eye to detect slight variations in colour. In addition though, this provided opportunities for us to chat about colour and introduce new language and vocabulary in describing colour variations and families. She uses the pincer grasp to place each peg.

This wooden colour sorter was a gift, but before we received this we were using the diy activity pictured below it. I am showing this because we used many toys and games we already had to help with colour recognition. This provided fine motor, patterning, and colour all into one. We all have toys that work well for combined work, like block sorters etc.
We used colour and shape vocabulary, when placing blocks from a very young age.
This activity was also fun because it doubled for large bead stringing. I kept a shoe lace in the box with a knotted end and she could do either.

This diy was made with pony beads from the craft store. We have a beading tackle box for the kids, that is filled with great beads and elastic string for creating jewelry. I took a selection of colours from this box, and created pattern strips with ms publisher.
Ava matched the beads to the cards at times, and others she strung the colour pattern.

Colour activities can come in many forms. Ava loves to get in on big brothers work. She LOVES the grammar solids. We made our Grammar Solids here. The shapes and colours are beautiful, and wonderful to hold. We took this opportunity for some matching, shape and colour work.


After learning the names for all the colours, and Ava was able to complete the work and return it to the tray, we tried a few extensions with the box.
Here she is using Colour Box 2 for a memory match game.

We used the box for colour sorting as well. This is a large set of object colour cards from here. We printed one copy, laminated and cut. This is a lot of work to complete so we portioned it and did primaries to start, and then added additional colours when she was able to complete the entire work and return it to the boxes.
Sometimes I limited the number of cards per colour. This work is a lot of fun with objects from around the house especially including toys. We have a bank of Ikea drawers each containing a different design/construct toy here (scroll down). She would visit these toys and other objects around the house and complete the exercise. There are many examples of this on the web.


This is a fantastic Melissa & Doug colour by dot book and crayons. You can easily make colour match sheets with existing pages by marking them with a selection of colours of your choice. I created one with an ms word colouring page below. Ava loved matching and chatting about the colours she was using. I often colour along side her. Sometimes she asks that I keep the box closer to me and she will request the colours she needs... like a tool box:) This is also a wonderful opportunity for story telling. I ask her if she would like to tell the story of what is happening in the picture.


There are some amazing ideas for colour learning on the web!
Thanks for visiting with us!

Please visit and "like" us for updates on our
Facebook Page! We share photos and
updates of what we are up to there!
We love to hear from you!!
If you have any questions for us comment... ASK!!
Visit us on Pinterest as well!!
Don't forget to check out our Montessori


Subscribe to Making Montessori Ours to get all of our
latest updates by email & Subscribers FREE Printable List.
This post is linked up at Living Montessori Now!!


Where can I find the picture cards to match under the colored squares?
ReplyDeleteHi there! Above the first photo of her sorting these cards there is a link in the description in the first line :) They are a great cards!
DeleteGreat activities!!
ReplyDeleteThank you! Ava has great fun with her "activities" as she calls them:)
DeleteDo you make a lot of your own materials? A very colourful post, I really like how you show the activities and offer links to materials.
ReplyDeleteWe do!! It is so cost effective to make activities like this with whatever you have on hand, and it's so easy to change things up!! I have appreciated blogs that share links so much that I really do my best to share as much as I can!!
DeleteThese activities are great! My daughter is much younger than yours but I am keeping these in mind for the future. She is just starting on color sorting so some of the basic ones we might use soon. I like that cup and giant button idea. We have buttons that are almost exactly the same from a melissa and doug set. Thanks for the ideas!
ReplyDeleteYou are most welcome! There is so much inspiration out there it's really hard to go wrong. I LOVE those buttons too:)
Delete